Wiring a How to Wire a Light Switch is an essential skill for any homeowner. Whether you’re replacing an old switch or installing a new one, knowing how to wire a How to Wire a Light Switch correctly can save you time and money. This comprehensive guide will take you through the entire process, ensuring a safe and successful installation.
Tools and Materials Needed
Before starting, gather the necessary tools and materials:
Screwdriver (flathead and Phillips)
Voltage tester
Wire stripper
Needle-nose pliers
Electrical tape
New light switch
Wire nuts
Electrical box (if installing a new switch)
Electrical wires (14-gauge or 12-gauge depending on circuit requirements)
Safety Precautions
Working with electricity can be dangerous. Follow these safety tips to avoid accidents:
Turn off the power: Before you start, turn off the power to the circuit you’ll be working on at the breaker box.
Use a voltage tester: Double-check that the power is off by using a voltage tester on the wires.
Wear safety gear: Use insulated tools and wear rubber-soled shoes to minimize electrical risks.
Follow local codes: Ensure your wiring complies with local electrical codes and regulations.
Types of Light Switches
There are different types of How to Wire a Light Switch available. Here are the most common ones:
1. Single-Pole Switch
Controls one light or a group of lights from a single location.
Has two terminals plus a ground screw.
2. Three-Way Switch
Allows you to control one light from two different locations.
Has three terminals plus a ground screw.
3. Dimmer Switch
Allows you to adjust the brightness of a light.
Can replace a single-pole or three-way switch.
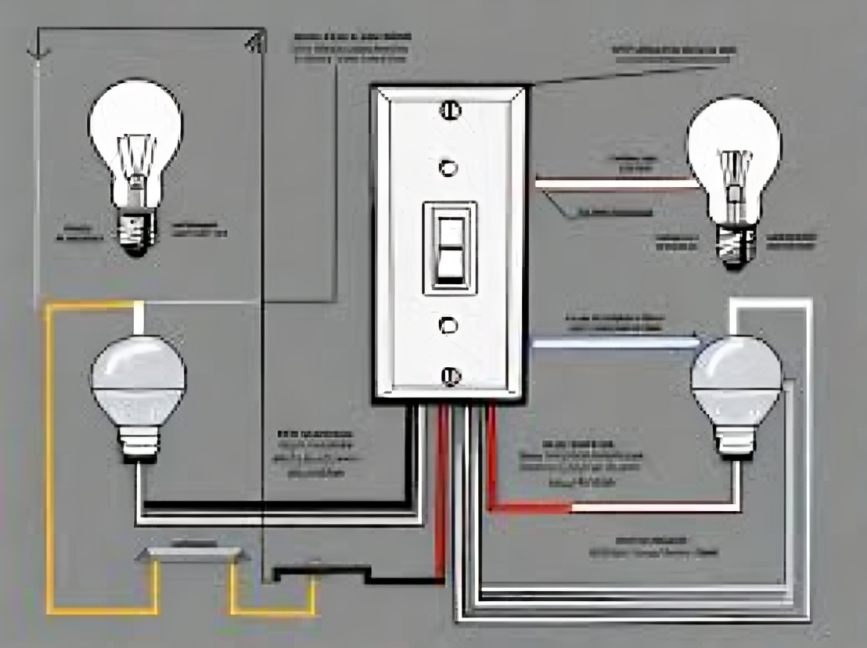
For this guide, we will focus on wiring a single-pole switch, the most common type in homes.
Step-by-Step Guide to Wiring a Single-Pole Light Switch
Step 1: Turn Off the Power
Locate your home’s circuit breaker panel and turn off the power to the circuit you’ll be working on. Use a voltage tester to ensure the power is off.
Step 2: Remove the Old Switch
Unscrew the cover plate from the existing switch using a screwdriver.
Remove the screws holding the switch in place.
Carefully pull the switch out of the electrical box to expose the wiring.
Use the voltage tester again to ensure there is no electricity flowing through the wires.
Step 3: Identify the Wires
In a single-pole switch setup, you’ll typically see three wires:
Black (hot) wire: Carries the electrical current from the power source.
White (neutral) wire: Completes the electrical circuit.
Ground wire: Provides safety by grounding the circuit.
Step 4: Disconnect the Wires
Loosen the screws on the old switch and remove the wires.
If the wires are attached with wire nuts, unscrew the nuts and separate the wires.
Inspect the wires for any damage. If the ends are frayed, strip a small portion of the insulation to expose fresh wire.
Step 5: Prepare the New Switch
Take your new single-pole switch out of the packaging.
Identify the terminals on the switch:
Brass terminals: For the hot wires.
Green screw: For the ground wire.
Step 6: Connect the Wires to the New Switch
Connect the ground wire: Attach the ground wire to the green screw on the switch. Tighten the screw to secure the wire.
Connect the hot wire: Attach the black wire to one of the brass terminals. It doesn’t matter which brass terminal you use.
Connect the load wire: If there is a second black wire (the load wire), attach it to the remaining brass terminal.
Secure the connections: Ensure all connections are tight and there are no exposed wires.
Step 7: Secure the Switch in the Electrical Box
Gently push the wires back into the electrical box.
Align the switch with the mounting holes in the box.
Use the screws provided to secure the switch to the box.
Step 8: Attach the Cover Plate
Place the cover plate over the switch and secure it with screws. Ensure the plate is level and sits flush against the wall.
Step 9: Turn the Power Back On
Return to your circuit breaker panel and turn the power back on. Test the switch to ensure it works correctly.
Common Mistakes to Avoid
Failing to turn off the power: Always double-check that the power is off before handling wires.
Incorrect wire connections: Ensure the hot, neutral, and ground wires are connected to the correct terminals.
Loose connections: Make sure all connections are tight to avoid electrical hazards.
Ignoring safety codes: Follow local electrical codes to ensure a safe installation.
Troubleshooting Tips
If the How to Wire a Light Switch doesn’t work after installation, here are some troubleshooting steps:
Check the power: Ensure the circuit breaker is on and the power is flowing.
Inspect the connections: Double-check that all wires are connected correctly and securely.
Test the switch: Use a voltage tester to ensure the switch is receiving power.
Replace the switch: If the switch is faulty, replace it with a new one.
When to Call a Professional
While wiring a How to Wire a Light Switch is a manageable DIY task, there are situations where you should call a professional electrician:
Complex wiring setups: If your home has older wiring or a complicated circuit setup.
Damaged wiring: If you notice frayed or damaged wires.
Electrical code compliance: If you’re unsure whether your wiring meets local codes.
Additional Tips for Light Switch Wiring
Label wires: When removing an old switch, label the wires to make reconnection easier.
Use wire nuts: Always use wire nuts to secure wire connections.
Avoid over-tightening screws: Over-tightening can damage the wires and the switch.
Check for compatibility: Ensure the switch you buy is compatible with your home’s electrical system.
Conclusion
Wiring a How to Wire a Light Switch is a straightforward task that most homeowners can handle with basic tools and safety precautions. By following this step-by-step guide, you can confidently install or replace a single-pole How to Wire a Light Switch in your home. Remember to prioritize safety, double-check your connections, and consult a professional if you encounter any issues.